
How to Fit a Pod Coil Without a Burnt Taste
Step-by-step coil fitting for pod devices: priming time, checking compatibility, and fixes for leaks and a burnt taste, for steady performance every time.
 By Dr Vape team
If your salt nic suddenly tastes different, or you start to feel unpleasant heat and a burnt cotton taste, the problem is usually not the flavor itself. How you install the coil in your pod device is the detail that separates a clean, flavor-packed draw from a coil that is finished on day one. Fitting it correctly does not take long, but it needs a compatible coil, good priming and a little patience before the first puff.
The coil is the heart of a pod device: inside it are the heating wire and the cotton that soaks up the liquid. When the cotton is saturated and the wire suits the device, you get balanced vapor and clear flavor. If the coil is not seated properly, or is fired before the cotton is primed, leaks or a burnt taste can appear quickly. This guide is for adult users of refillable pod devices, whether you use OXVA, UWELL, VOOPOO, SMOK or any model with replaceable coils.
Before fitting the coil: check 3 things
First, do not assume any coil fits any pod, even if it looks similar. Each device has its own coil series, and the resistance and fitting method can differ between models from the same brand. Check the device name on the pod or box, then match it with the coil name. This avoids a common problem: buying a coil that looks close but does not lock in firmly or is not recognised by the device.
Second, choose a resistance that suits your draw and your liquid. Higher resistances such as 0.8 or 1.0 ohm usually suit salt nicotine and an MTL draw close to a cigarette draw, with lower liquid use and lighter vapor. Lower resistances such as 0.4 or 0.6 ohm usually give more vapor and stronger flavor, but use liquid and battery faster and may suit a lighter nicotine strength. No resistance is best for everyone; the choice depends on your device, the VG/PG ratio of your liquid and the way you vape.
Third, have a clean tissue ready and make sure the pod is empty or the liquid level is low, especially if the coil fits from the bottom. Working on a stable surface saves you cleaning up an unexpected leak. If your device is warm after use, let it cool for a few minutes before taking it apart.
Back to quick links ↑How to fit a pod coil, step by step
Take the pod off the battery first. On most pod devices you pull the tank or cartridge straight out of the body, while some models need a gentle squeeze on the sides or a cover removed. Do not use force; any unusual resistance may mean you are trying to open it the wrong way.
Once the pod is out, remove the old coil. It may be held by a push-fit system from the bottom of the pod, or it may screw in. With push-fit, hold the base of the coil and pull it out as straight as possible. With a screw-in coil, turn it gently anticlockwise. If it is stuck because of condensed liquid, wipe the base first and try again without sharp tools.
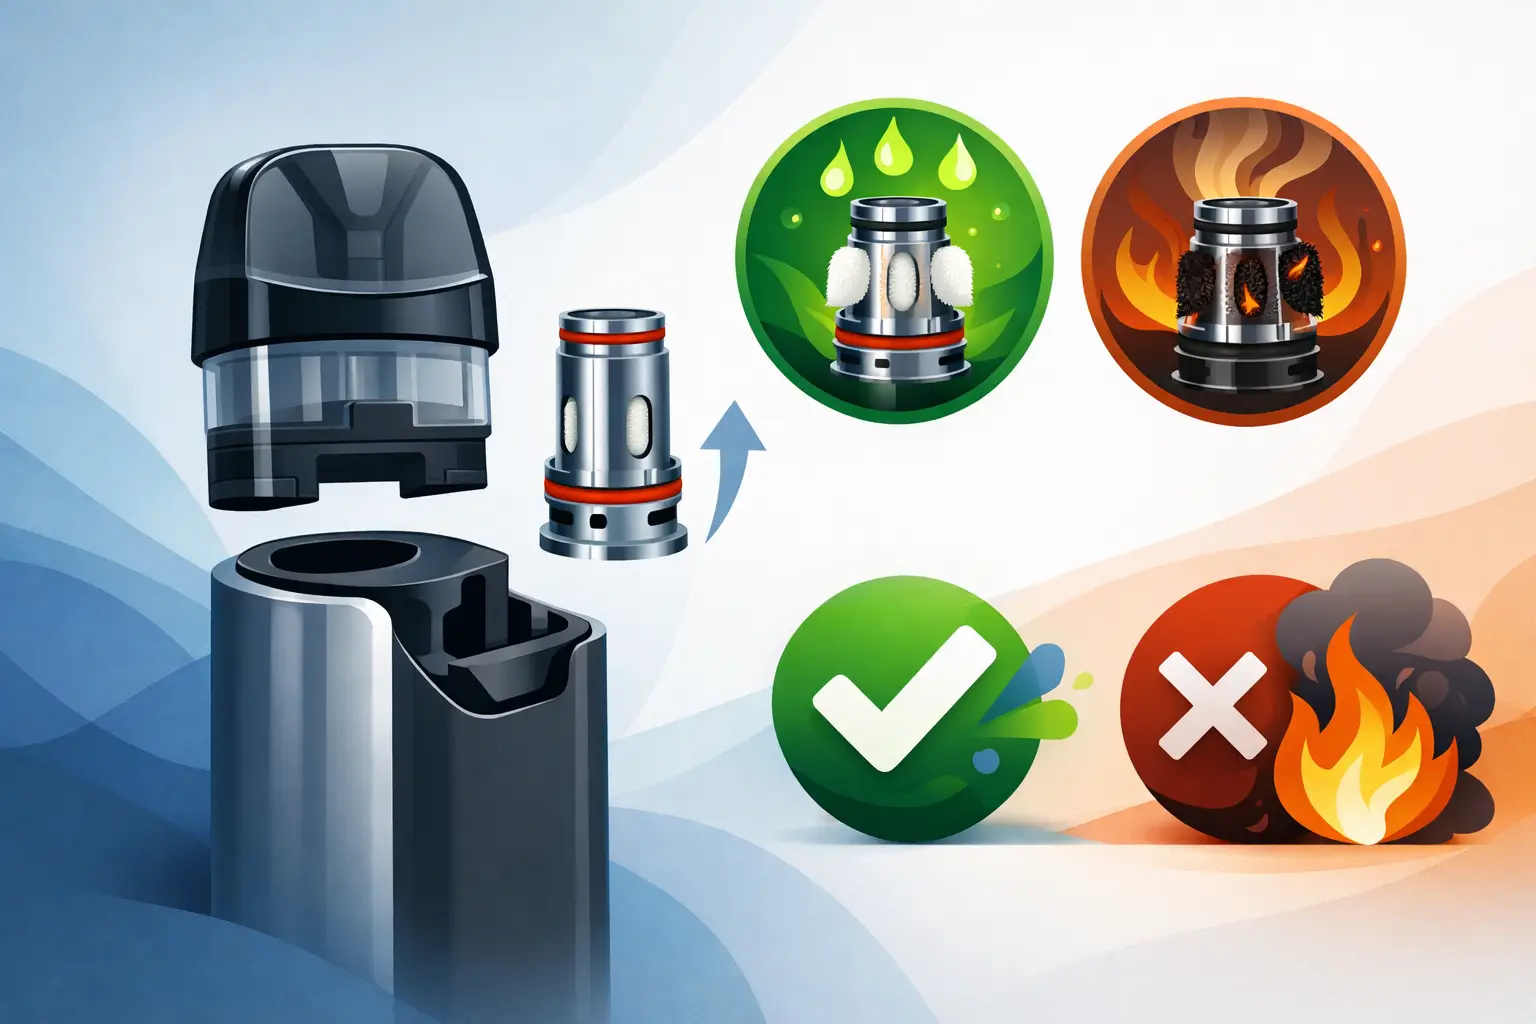
Before inserting the new coil, look at the silicone rings around it. They should be intact, not twisted, and in the right place. These small rings prevent a large part of leaking. Do not touch the cotton inside the coil with your fingers or try to push it in.
Priming the cotton: the minute that protects your coil
Put two or three drops of liquid on the side cotton holes of the new coil. Do not fill the central hole the air passes through, and do not flood the coil. The aim is only to moisten the cotton so it starts to absorb, not to drown it.
Insert the coil the right way round. With push-fit coils, press it in firmly until it is level with the base of the pod and there is no visible gap. With screw-in coils, tighten until it is secure and then stop; overtightening can damage the thread or the rubber ring. Then wipe away any liquid around the base.
Fill the pod through the dedicated fill port, not through the air hole or the coil channel. Do not fill it right to the brim; leave a little air space so liquid is not pushed out when you close the plug. Close the fill port firmly and put the pod back in the device.
Now wait 5 to 10 minutes before firing. This lets the liquid reach all of the cotton inside the coil. With thicker liquids, or coils with small cotton holes, wait the full 10 minutes. Rushing this is the number one cause of an early burnt taste, even with a new, original coil.
After waiting, start with two light, short puffs. Do not start with a hard or continuous draw, and do not raise the wattage above the range printed on the coil if your device has power control. Take the first few puffs gently and you will notice the flavor settle gradually.
Back to quick links ↑If your device uses a pod with a built-in coil
Some pod devices do not let you change the coil on its own, because it is built into the cartridge or pod itself. Do not try to open the base or pull out parts that are not designed to come apart, as you may break the pod or cause a permanent leak. When the coil reaches the end of its life, replace the whole pod and follow the same priming rule: fill it and wait before first use.
There is a cost difference, but a built-in pod is simpler and quicker for users who do not want to deal with separate coils. A replaceable coil system gives you more flexibility in choosing the resistance and usually makes replacing the worn part cheaper.
Back to quick links ↑Mistakes that cause leaks and a burnt taste
A leak does not always mean the coil is faulty. Sometimes the coil was not pushed all the way in, the fill plug was not closed tightly, or the pod was left in the car or in the sun. Heat thins the liquid and makes it more likely to escape through the air holes. Overfilling, or drawing too hard on an MTL device, can also push liquid into the airflow channel.
For a burnt taste, start by checking the liquid level. Do not let the liquid drop below the side cotton holes, because the coil will not have enough to soak. If the level is fine and the coil is new, you may have started vaping before the priming time was up, or you may be using a thick, high-VG liquid with a coil made for a gentle draw and small holes.
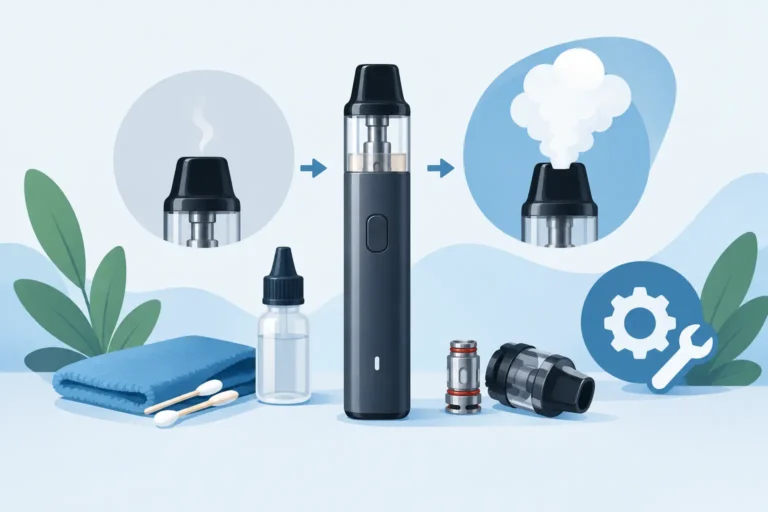
Cutting out or weak vapor can come from dirty contacts between the pod and the device. Take the pod out, wipe the base and the contacts with a dry cloth, then refit it. Do not wash the coil with water or try to clean the inside with tissues; cotton made to be consumed will not return to its original state once it is saturated with flavor or burnt.
Back to quick links ↑When should you change the coil?
There is no fixed number of days that suits every user. Coil life varies with the type of liquid, how sweet the flavor is, how much you vape, the device power and how well it was primed. Very sweet and dark flavors can leave deposits faster, while gentle use with a suitable liquid can extend coil life.
Change the coil when the flavor becomes clearly dull, when a burnt taste does not go away after checking the liquid level, when leaks keep happening despite fitting the coil correctly, or when the liquid in the pod darkens unusually fast. Do not wait until the taste is completely unacceptable, because a worn coil spoils the flavor and makes every puff less enjoyable.
Back to quick links ↑Tips to make your coil last longer
Do not take several puffs quickly in a row, especially with low-resistance coils. Leave a few seconds between puffs so the cotton can soak up liquid again. Keep the pod at a medium fill level instead of leaving it empty for long periods, and store the device upright where possible, away from direct heat.
It is smart to keep a spare coil that fits your device, because a coil tends to run out just when you need your device most. When choosing parts, focus on compatibility, authenticity and the product date, not on price alone. At Dr Vape you will find coils, pods and spare parts for a wide range of devices, so you can order the right part instead of trying alternatives that may not suit your device.
A new coil does not need complications: fit it firmly, prime the cotton, and wait before the first puff. This simple habit protects the flavor you chose and lets you enjoy your pod device from the first fill to the last puff.
Dr Vape is a vape store in Al Malqa, Riyadh. We write about the devices, disposables and flavours we stock to help you choose what suits you. For adults 18+ only.
All articles ←